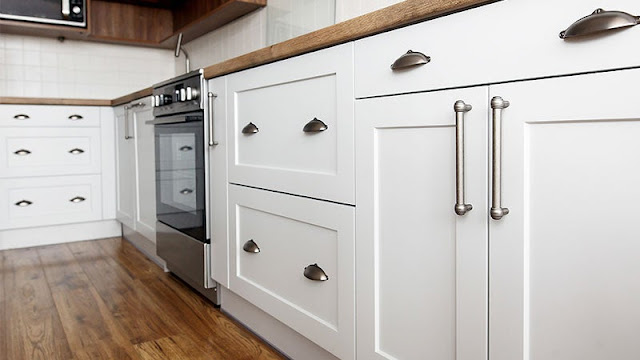
5 Tips to Refinish Kitchen Cabinets Like a Pro

Refinishing kitchen cabinets is a terrific, cost-effective solution for homeowners who are tired of their cabinet color, or just need to give an old set of cabinets some pizzazz.
While it may be tempting to rush through or even skip the preparation process, if you truly want your finish to look good and last a long time, prep is the most important step. And the techniques you employ, and the products you use can make or break your outcome.
So, before you begin refinishing your cabinets, it’s best to do a little detective work. You need to know what materials you’re working with to see if the job is even possible. But, with that research and a lesson on how to refinish cabinets, it’s possible to give a kitchen a serious upgrade.
Here’s a mini-guide to bestow your ideas about how to refinish kitchen cabinets? Let’s have a deep insight regarding the same.
1. You must monitor the environment to yield the desired outcome
Do make sure to refinish the cabinets in a well-ventilated area. If the cabinets aren’t mobile, open windows and use a box fan to keep air moving.
Next, be sure to wear a respirator when working with chemicals or sanding to avoid inhaling harmful substances. Finally, avoid damaged or stained skin by donning a pair of chemical-resistant gloves.
Moreover, don’t forget to double-check the nature of the chemicals that are being used. Some chemicals are inflammable and must be avoided.
2. Preparation time is crucial
“The foremost step is not to start but to prepare for the start.”
The preparation time is extremely crucial. It will allow you to eradicate the chances of any potential errors. It will higher the chances of yielding the desired results at the end of the journey.
Remove all of the doors and drawers, label/number them carefully (you’ll thank me later), and stage them for cleaning. Plastic and tape off all of the insides of the cabinet boxes to keep dust from getting in, cover all backsplashes with plastic, and seal all appliances to keep them clean.
3. Remove the doors of the cabinets and work on the damaged areas
In a well-ventilated room (or outdoors), use a paint stripper to remove the existing finish. The job is messy and potentially unhealthy, but if you’re careful, it’s better than blowing thousands of dollars on new cabinets.
The next step in the sequence is to fill dents and deep scratches with wood filler, then sand thoroughly until all finish is removed and the wood is super smooth with no scratches.
4. Apply sealer and stain
A sealer does just what it says. It seals the surface with a light, thin coating so that when you apply stain, the color goes on evenly. That is why it is one of the essential steps to reap the desired final look of the cabinets.
Post sealers apply the stain using a soft cotton rag, a brush, or a brush in combination with a rag. Experiment until you find a combination that allows you to apply a consistent tone. If the stain is going on too dark, rub some of it off.
5. Put a premium quality primer and top it off
Choosing the correct primer is so important. The wrong primer will leave you with chipping cabinets, an uneven finish, and even stain bleeding from the wood. A major benefit is that it has a low odor, so families can continue to live in the house while work is done.
Now that you have a perfectly primed surface, it’s time for the topcoat. The application techniques are the same as priming—use a high-quality nylon-bristle brush and/or roller, and take your time to ensure smooth, even coverage.
Summary
Now when you’re aware of how to
refinish kitchen cabinets, you can spell magic into your kitchen area. Just
don’t forget to take one final walk-through to look for touch-ups
Comments
Post a Comment